What Equipment Do You Need to Record an Online Course?
What Equipment Do You Need to Create an Online Course?
Before you hit record on your first module, you need to know what you're actually working with. The gear question trips up a lot of course creators — some over-invest in equipment they don't need, others try to cut corners on things that kill the final product. Neither approach serves your students or your brand.
This guide covers exactly what equipment you need to record a professional online course, what matters most, and when a professional studio makes more sense than building your own setup.
The right course recording setup depends on your content format, budget, and how much time you want to spend on production vs. instruction. Here's what the decision actually looks like.
Quick Answer
At minimum, you need a decent camera (1080p or better), a quality microphone, and controlled lighting. For most course creators, the audio matters more than anything else — bad sound kills retention. A simple ring light and lavalier mic can get you started, but if you want broadcast-quality results without the gear overhead, recording in a professional studio handles all of it for you.
The Non-Negotiables: What You Actually Need
Strip away the gear lists and you're left with five things every course recording setup must have:
- Camera: 1080p minimum, 4K preferred. Resolution signals quality to buyers before they even watch a lesson.
- Microphone: A standalone mic — always. Built-in laptop mics are a deal-breaker for a paid course.
- Lighting: Soft, even, diffused. Shadows on your face distract from the content.
- Clean backdrop: A plain wall, a well-staged background, or a professional studio set.
- Screen recording software (if needed): If you're teaching a software tool, you need to capture your screen and face simultaneously.
That's the full list. Everything else — teleprompters, multiple cameras, b-roll — is useful, but not required to ship a course that sells and gets results.
If you're exploring course creation services at Cincinnati Podcast Studio, all five are already in place — you show up ready to teach.
Breaking Down Each Piece of Equipment
Camera
You have three realistic options at different price points:
- DSLR or mirrorless camera: Best image quality, shallow depth of field, professional look. Steeper learning curve and higher cost.
- Quality webcam (Logitech C922 or better): Budget-friendly, easy to set up, acceptable quality for most course formats.
- Smartphone: Modern flagships shoot 4K and work well when mounted correctly. The limiting factor is usually audio and stabilization.
Camera choice matters, but it's the third most important gear decision — after audio and lighting.
Microphone
This is where most course creators should spend their first dollar. Bad audio is the #1 reason students abandon a course. Your options:
- USB condenser mic: Plug in, record, done. Blue Yeti, Rode NT-USB, or similar. Best for desk setups where you stay in one position.
- XLR mic + audio interface: Higher quality ceiling, more flexibility. Requires a small interface box (Focusrite Scarlett is the standard). A step up from USB when you're ready for it.
- Lavalier (lapel) mic: Clips to your shirt, moves with you. Useful for instructors who pace or teach at a whiteboard. Audio quality varies significantly by price point.
Whichever you choose, record in the quietest room available. Acoustic treatment — sound panels, rugs, bookshelves full of books — matters more than mic brand.
Lighting
Good lighting makes average cameras look great. Bad lighting makes good cameras look average. Your core setup:
- Ring light: Easy to position, good even coverage for talking-head content. Works well for solo instructors at a desk.
- Softbox pair: More control, more natural look, better for larger spaces or instructors who move. Standard in professional environments.
- Natural light: Technically free, but unreliable. Window light changes throughout the day and between recording sessions, creating inconsistency across modules.
The goal is consistent, diffused light that doesn't shift between your recording sessions. Inconsistency between module videos is a production quality signal buyers notice.
Common Mistakes Course Creators Make With Gear
The gear decision is where most course creators lose time and money before they record a single module. Here's what to avoid:
Over-investing in camera, under-investing in audio. A $1,500 camera with a built-in mic sounds worse than a $200 camera with a $100 standalone mic. Audio retention is not optional — it's the product.
Recording in echo-prone rooms. Hard floors, bare walls, and open ceilings create reverb that no software can fully remove in post. Test your space before you commit to a setup. Record 30 seconds of yourself talking and listen back on headphones.
Inconsistent lighting between sessions. Recording module one in bright morning sunlight and module seven under fluorescent bulbs makes your course look fragmented. Students notice. Controlled artificial lighting eliminates this entirely.
No backup recordings. Equipment fails. Software crashes. Record to a secondary device — even a phone — whenever possible, especially for long modules that would be painful to re-record.
Not testing the full setup before the first real recording day. Run a complete test session: camera, mic, lighting, backdrop, software. Find every problem before your calendar is blocked and your energy is spent.
When DIY Equipment Is Enough (And When It Isn't)
DIY course recording works when:
- You're validating market demand before investing in production quality
- Your course is short (under 10 modules) and the topic doesn't require high production credibility
- You already own a capable setup from other content work
- Your students are used to informal, screen-share-heavy formats
A professional studio makes more sense when:
- The course is your flagship product and production quality is part of your brand positioning
- You have multiple modules or a long-form curriculum that requires consistent, polished video across all sessions
- You're recording panel sessions, interviews, or multi-person formats that require multi-camera setup
- You want to repurpose course content into short-form video clips or professional video podcasting — a studio session can produce both simultaneously
- Your clients expect a certain level of production credibility before purchasing
The clearest signal it's time for a studio: when you've been delaying recording because setup complexity keeps getting in the way. At that point, the gear isn't enabling your work — it's blocking it.
Why Some Course Creators Skip the Gear Altogether
There's a third path that's increasingly common among consultants, coaches, and B2B professionals: recording in a professional studio and skipping gear ownership entirely.
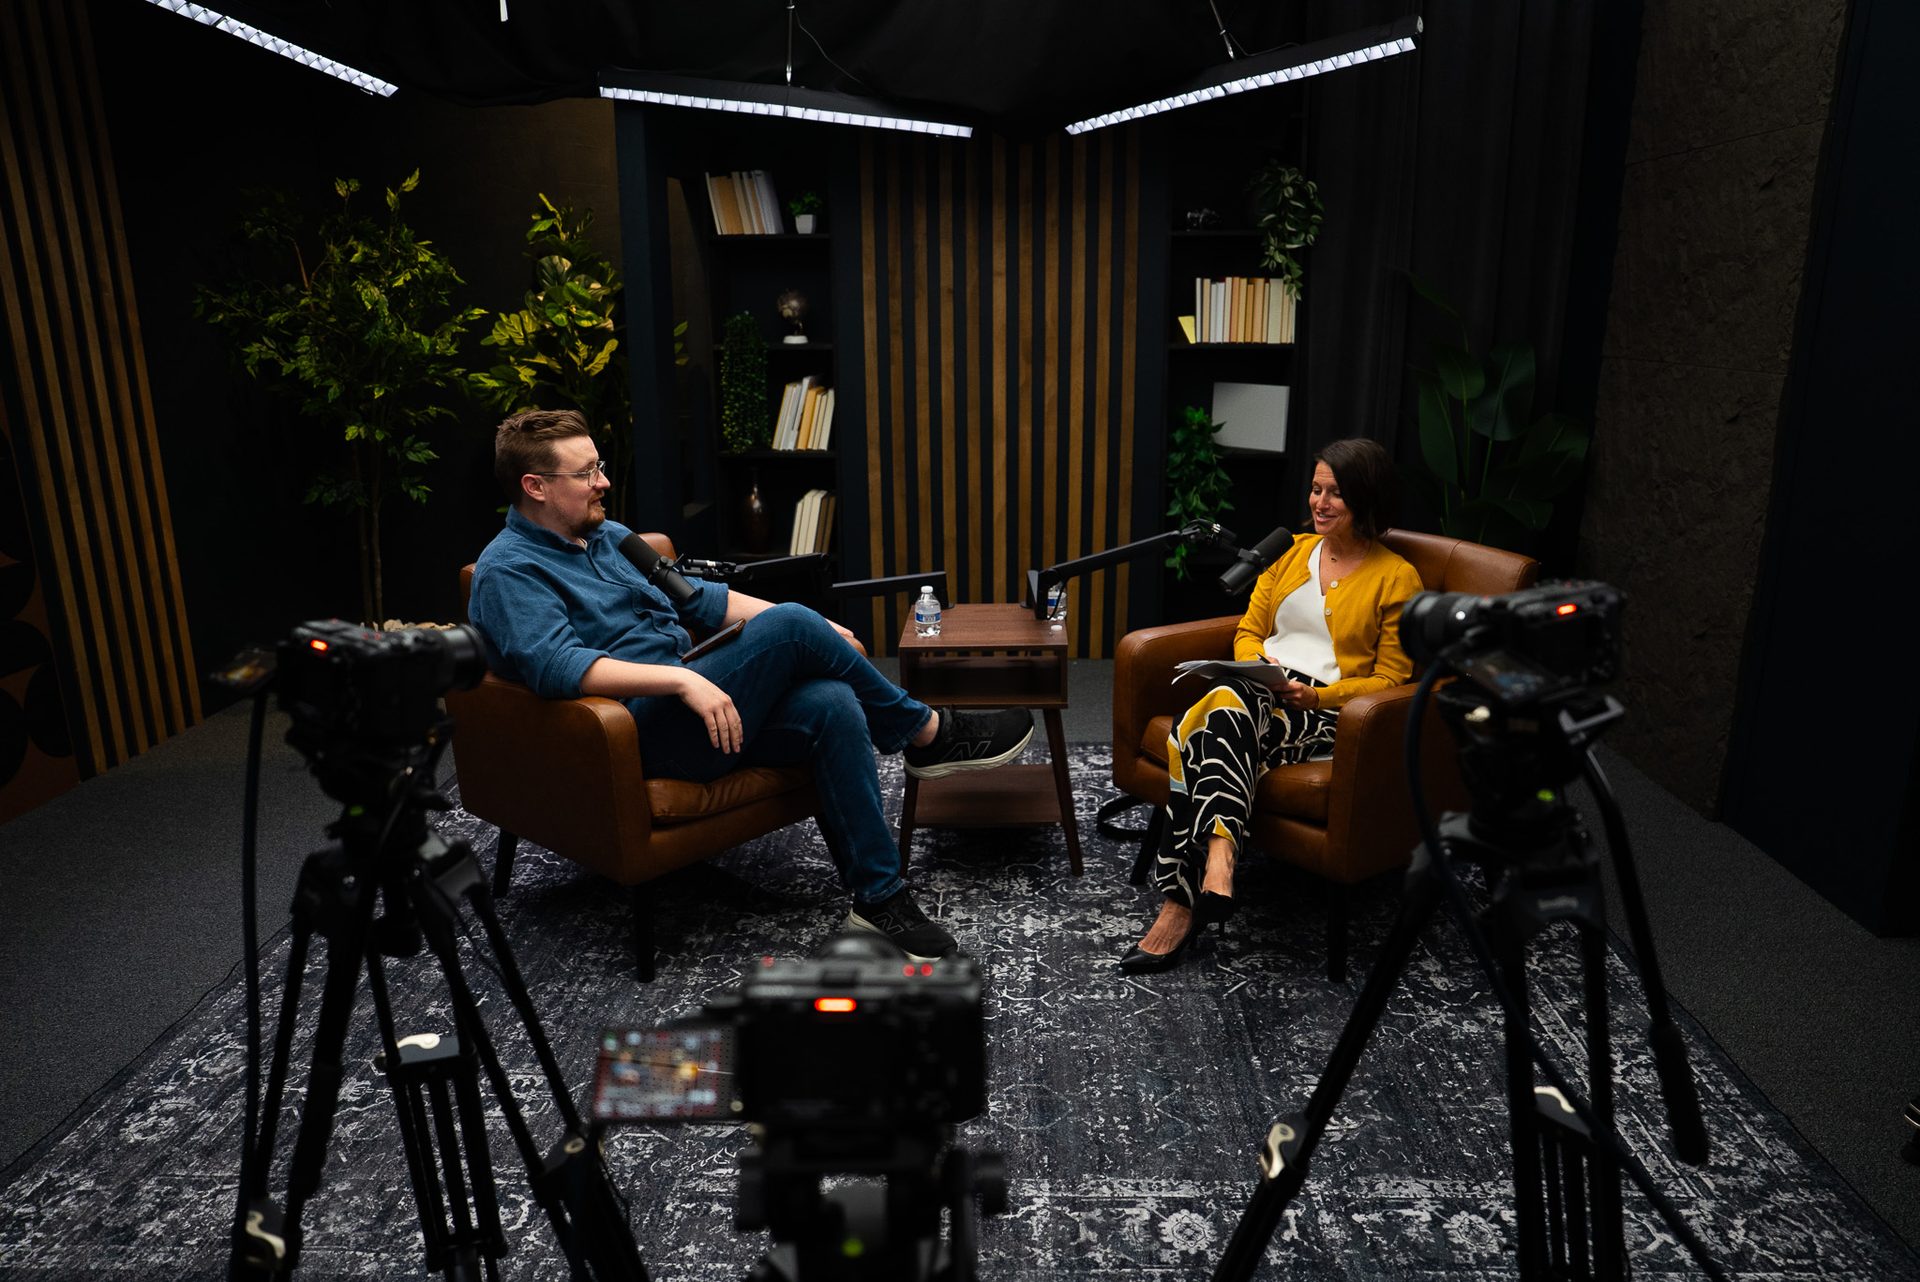
The model is straightforward. You book a session, arrive with your curriculum and any notes, and the studio handles camera, broadcast-quality audio, lighting, set design, and technical support. You leave with professionally recorded footage ready for editing and upload.
For many course creators, the math works out clearly in favor of the studio approach:
- No gear depreciation or upgrade cycles
- No acoustic treatment costs for a home room
- No technical setup on recording days
- Consistent visual quality across every module, every session
- Batch recording — multiple modules in a single day — compresses the entire production timeline
At Cincinnati Podcast Studio, course creators in Greater Cincinnati and Northern Kentucky use our studio to record full curricula in batch sessions. 4K video, professional broadcast audio, and production support — you focus on instruction, we handle the technical environment. Learn more about our course video production services or book a Discovery Call to talk through your project.
If you're also building a content engine beyond the course — video clips for LinkedIn, a video podcast, or professional webinar recordings — a studio session can serve all of it at once. That's the batch production model that makes high-volume content sustainable for teams of any size. Our consulting team can help you map out the right format mix if you're not sure where to start.
If you're based in Cincinnati, Northern Kentucky, or anywhere in the Greater Cincinnati region and want to see the studio before committing, a Discovery Call is the right first step. We'll walk through your course format, your audience, and what the production day would look like — no obligation, no pitch pressure.
Frequently Asked Questions
What microphone is best for recording an online course?
A USB condenser mic like the Blue Yeti or a lavalier mic clipped to your shirt works well for most course creators. The key is recording in a quiet, acoustically treated space — no mic fixes a room with echo.
Do I need a 4K camera to record an online course?
Not strictly, but 1080p is the minimum you should accept. 4K gives you more flexibility in post-production and signals professionalism to buyers. Many smartphones shoot 4K now, though lighting and audio still matter more than resolution.
Can I record an online course on my phone?
Yes, modern smartphones handle the video quality. The bigger challenge is audio and lighting — you'll still need a standalone mic and a decent light source to get results that hold up.
How much does it cost to set up a course recording studio at home?
A capable home setup runs somewhere in the range of hundreds to a couple thousand dollars depending on mic, camera, and lighting choices. That doesn't include acoustic treatment, which can add significant cost if your room has echo problems. Contact us to discuss whether a studio session makes more sense for your situation.
What's the difference between recording a course at home vs. in a professional studio?
A professional studio removes the setup burden entirely — camera, audio, lighting, and acoustics are all handled. You show up, present your material, and leave with broadcast-quality footage. For flagship courses where production quality reflects your brand, the studio approach often saves time and delivers better results.
Do I need special software to record an online course?
For talking-head content, any video recording app works. If you're teaching software, a screen recorder like Camtasia or OBS captures both your face and screen simultaneously. Keep it simple until you know your format.
The Bottom Line
Camera, microphone, and lighting are the three pillars of professional course recording. Audio is the most important — invest there first. Lighting is second. Camera quality matters, but it's the last variable to optimize.
If you're a course creator who wants to skip the gear entirely and focus on instruction, a professional studio session is the most direct path to broadcast-quality results. The Cincinnati Business Podcast is one example of what's possible when production is handled professionally — the same environment and team serve course creators at CPS.
Ready to record your course without the setup headache? Book a Discovery Call and let's map out your recording day.