How to Turn Your Expertise Into an Online Course
How to Turn Your Expertise Into an Online Course
You've spent years developing a skill, a methodology, or a point of view that other people would pay to learn. The question isn't whether your expertise is worth packaging — it is. The question is how to translate what you know intuitively into a learning experience that works on camera.
That translation step is where most experts get stuck. Not because the knowledge isn't there, but because teaching on video requires a different kind of structure than consulting, speaking, or coaching one-on-one.
This guide walks you through the process: from mapping your content into a teachable framework, to scripting your lessons, to recording them efficiently in a professional studio environment.
Quick Answer
Turn your expertise into an online course by mapping your knowledge into a logical module sequence, scripting each lesson as a direct teaching moment, and recording in a professional studio environment. The structure matters more than the production budget — clear delivery and organized content keep learners engaged from start to finish. For most B2B experts and consultants, a well-prepared course can be fully recorded in one or two studio sessions.
The Gap Between Knowing Something and Teaching It
Most experts run into the same wall: they sit down to record and realize they don't know where to start. Not because they lack knowledge — they have too much of it. The problem is the translation layer between intuitive expertise and teachable content.
When you consult with a client or coach someone one-on-one, you respond to their specific situation. You improvise. You read the room. None of that works in a recorded course where every learner starts at the same place and moves at their own pace.
What works instead: scaffolding. Your course needs to give learners a progression — from where they are now to where you're taking them — in a sequence they can follow without you in the room.
Before you touch a camera, define the transformation your course creates. What does the learner know, do, or believe after completing it that they didn't before? That's your course promise, and everything else — modules, lessons, exercises — exists to deliver it.
How to Structure Your Course Content Before You Hit Record
Once you have your transformation defined, work backward. Break the journey into 4-8 major milestones — those are your modules. Then break each module into the specific lessons that deliver that milestone.
A reliable lesson structure: problem → concept → example → application. Open by naming the specific challenge your learner faces right now. Introduce the concept or framework that addresses it. Give a real example of it working. Then give the learner something to do — a step, a decision, a template to fill in.
Keep lessons between 5 and 15 minutes. Attention drops sharply past that window. Shorter lessons are also easier to rewatch, easier to excerpt for marketing clips, and easier to update when your thinking evolves.
A few practical rules:
- One idea per lesson. If you're covering two separate concepts, that's two lessons.
- Sequence matters. Each lesson should assume the prior one is complete. Don't assume the learner will jump around.
- Worksheets and templates belong in modules, not lessons. Keep the video focused on instruction; put the tools in the module resources.
This is the work that takes the longest — and it has nothing to do with video. The better your structure before you walk into a studio, the faster and cleaner your recording day goes. Our course creation services are designed to plug in once your content is mapped; we handle the production environment so you can focus entirely on delivery.
Scripting vs. Talking Points: What Actually Works on Camera
There's a debate in every course creator community about whether to script your lessons fully or work from bullet-point outlines. Both work. The right choice depends on how you perform under mild pressure.
Full scripts are the better option if you tend to ramble when you improvise, if your content is technical and precision matters, or if you want minimal editing time. The trap with full scripts is reading them — if it sounds like you're reading, you've lost the learner. A teleprompter helps, but only if you practice enough to look natural.
Talking points work better for conversational, experienced speakers who can stay on track without a word-for-word guide. The risk: some people cover the same ground twice or leave out critical details. If that's you, tighten the outline until each bullet is a single sentence instruction, not a topic heading.
The practical test: record a 3-minute test segment both ways before your full production session. Watch it back. One approach will feel noticeably cleaner. Use that one.
Either way, prepare more than you think you need. Ambiguity in your script or outline shows up on camera as hesitation — and hesitation costs editing time. Our team has worked with enough subject-matter experts to know: the instructors who walk in with the tightest prep walk out with the cleanest footage.
What Makes a Professional Course Video (It's Not What You Think)
Most first-time course creators assume production quality is about camera resolution. It isn't. Learners forgive average video. They don't forgive bad audio or confusing visuals.
The three things that actually signal professionalism in course video:
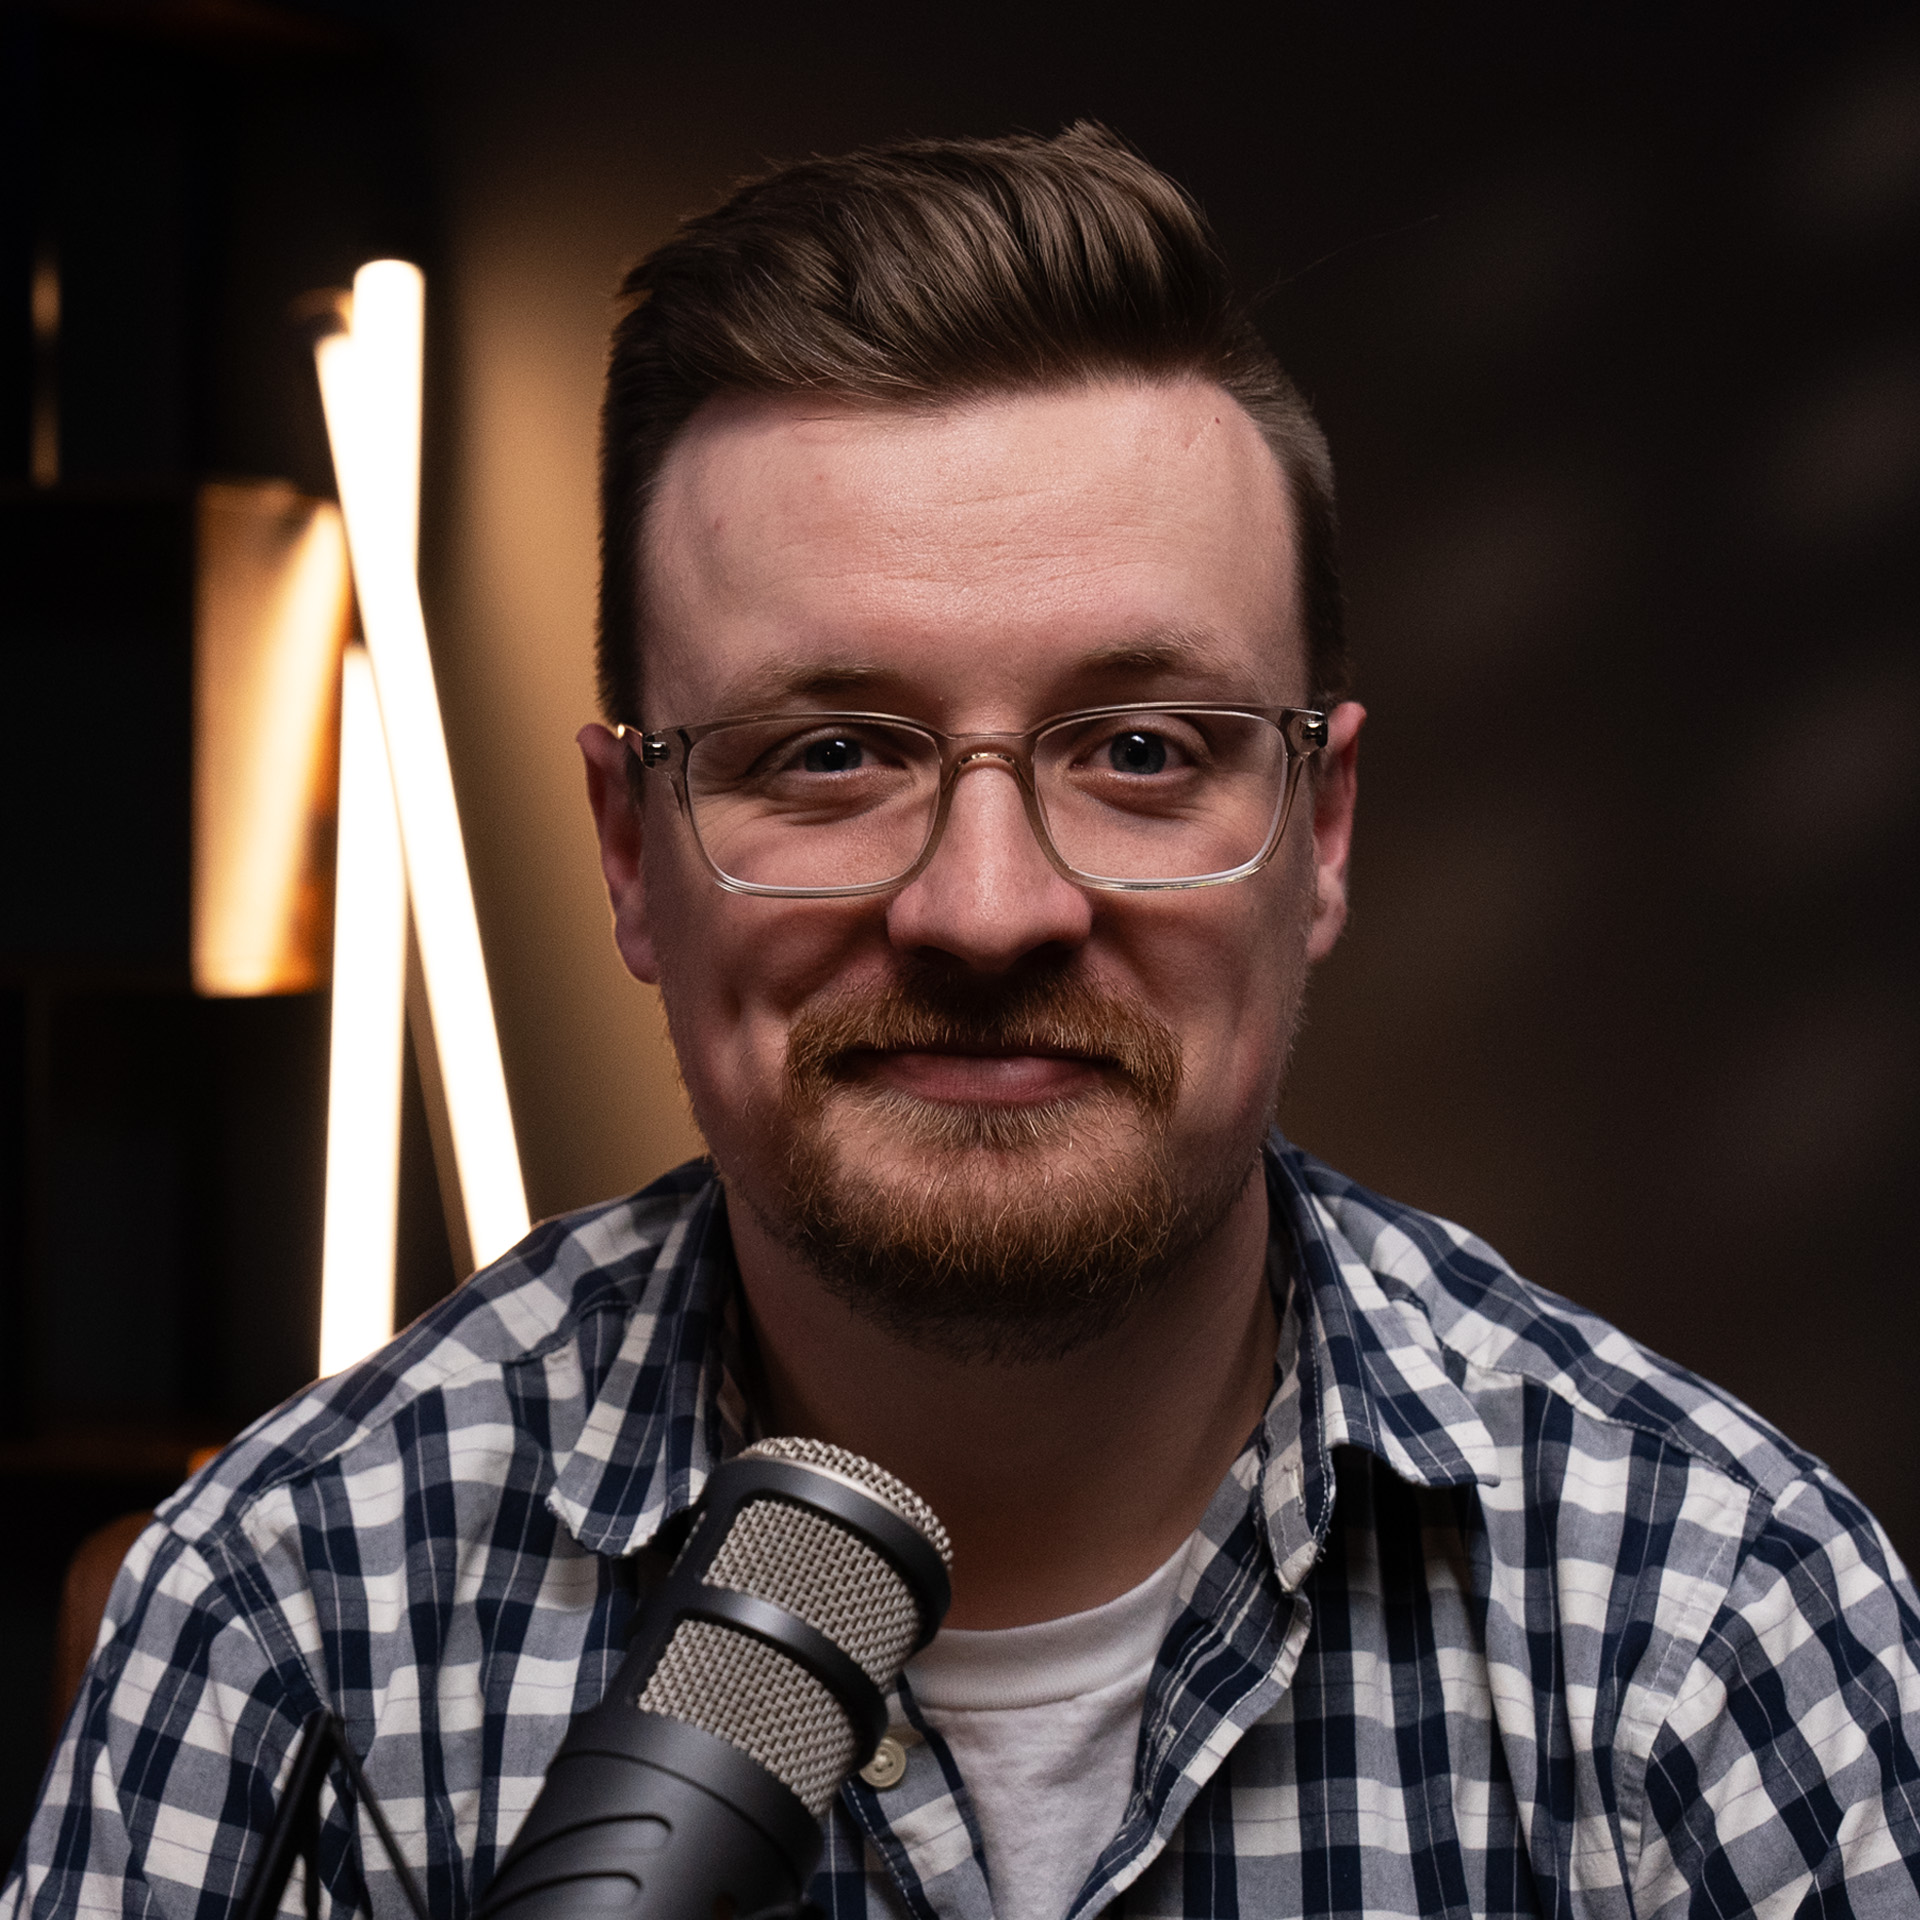
- Clean audio. If learners have to strain to hear you, they stop. This is non-negotiable. A professional studio mic in a treated room eliminates the room noise, echo, and compression artifacts that make DIY recordings feel amateur.
- Consistent lighting. Learners notice when your face is half in shadow or your lighting changes between lessons. A properly lit studio gives you the same look across every video in the course — which signals care and intentionality even if the learner doesn't know why they notice it.
- Stable, tight framing. You should fill the frame from roughly the chest up, eyes in the upper third of the screen. This is standard on-camera instruction framing. It keeps the focus on your face and expression — which is where trust and credibility live in video.
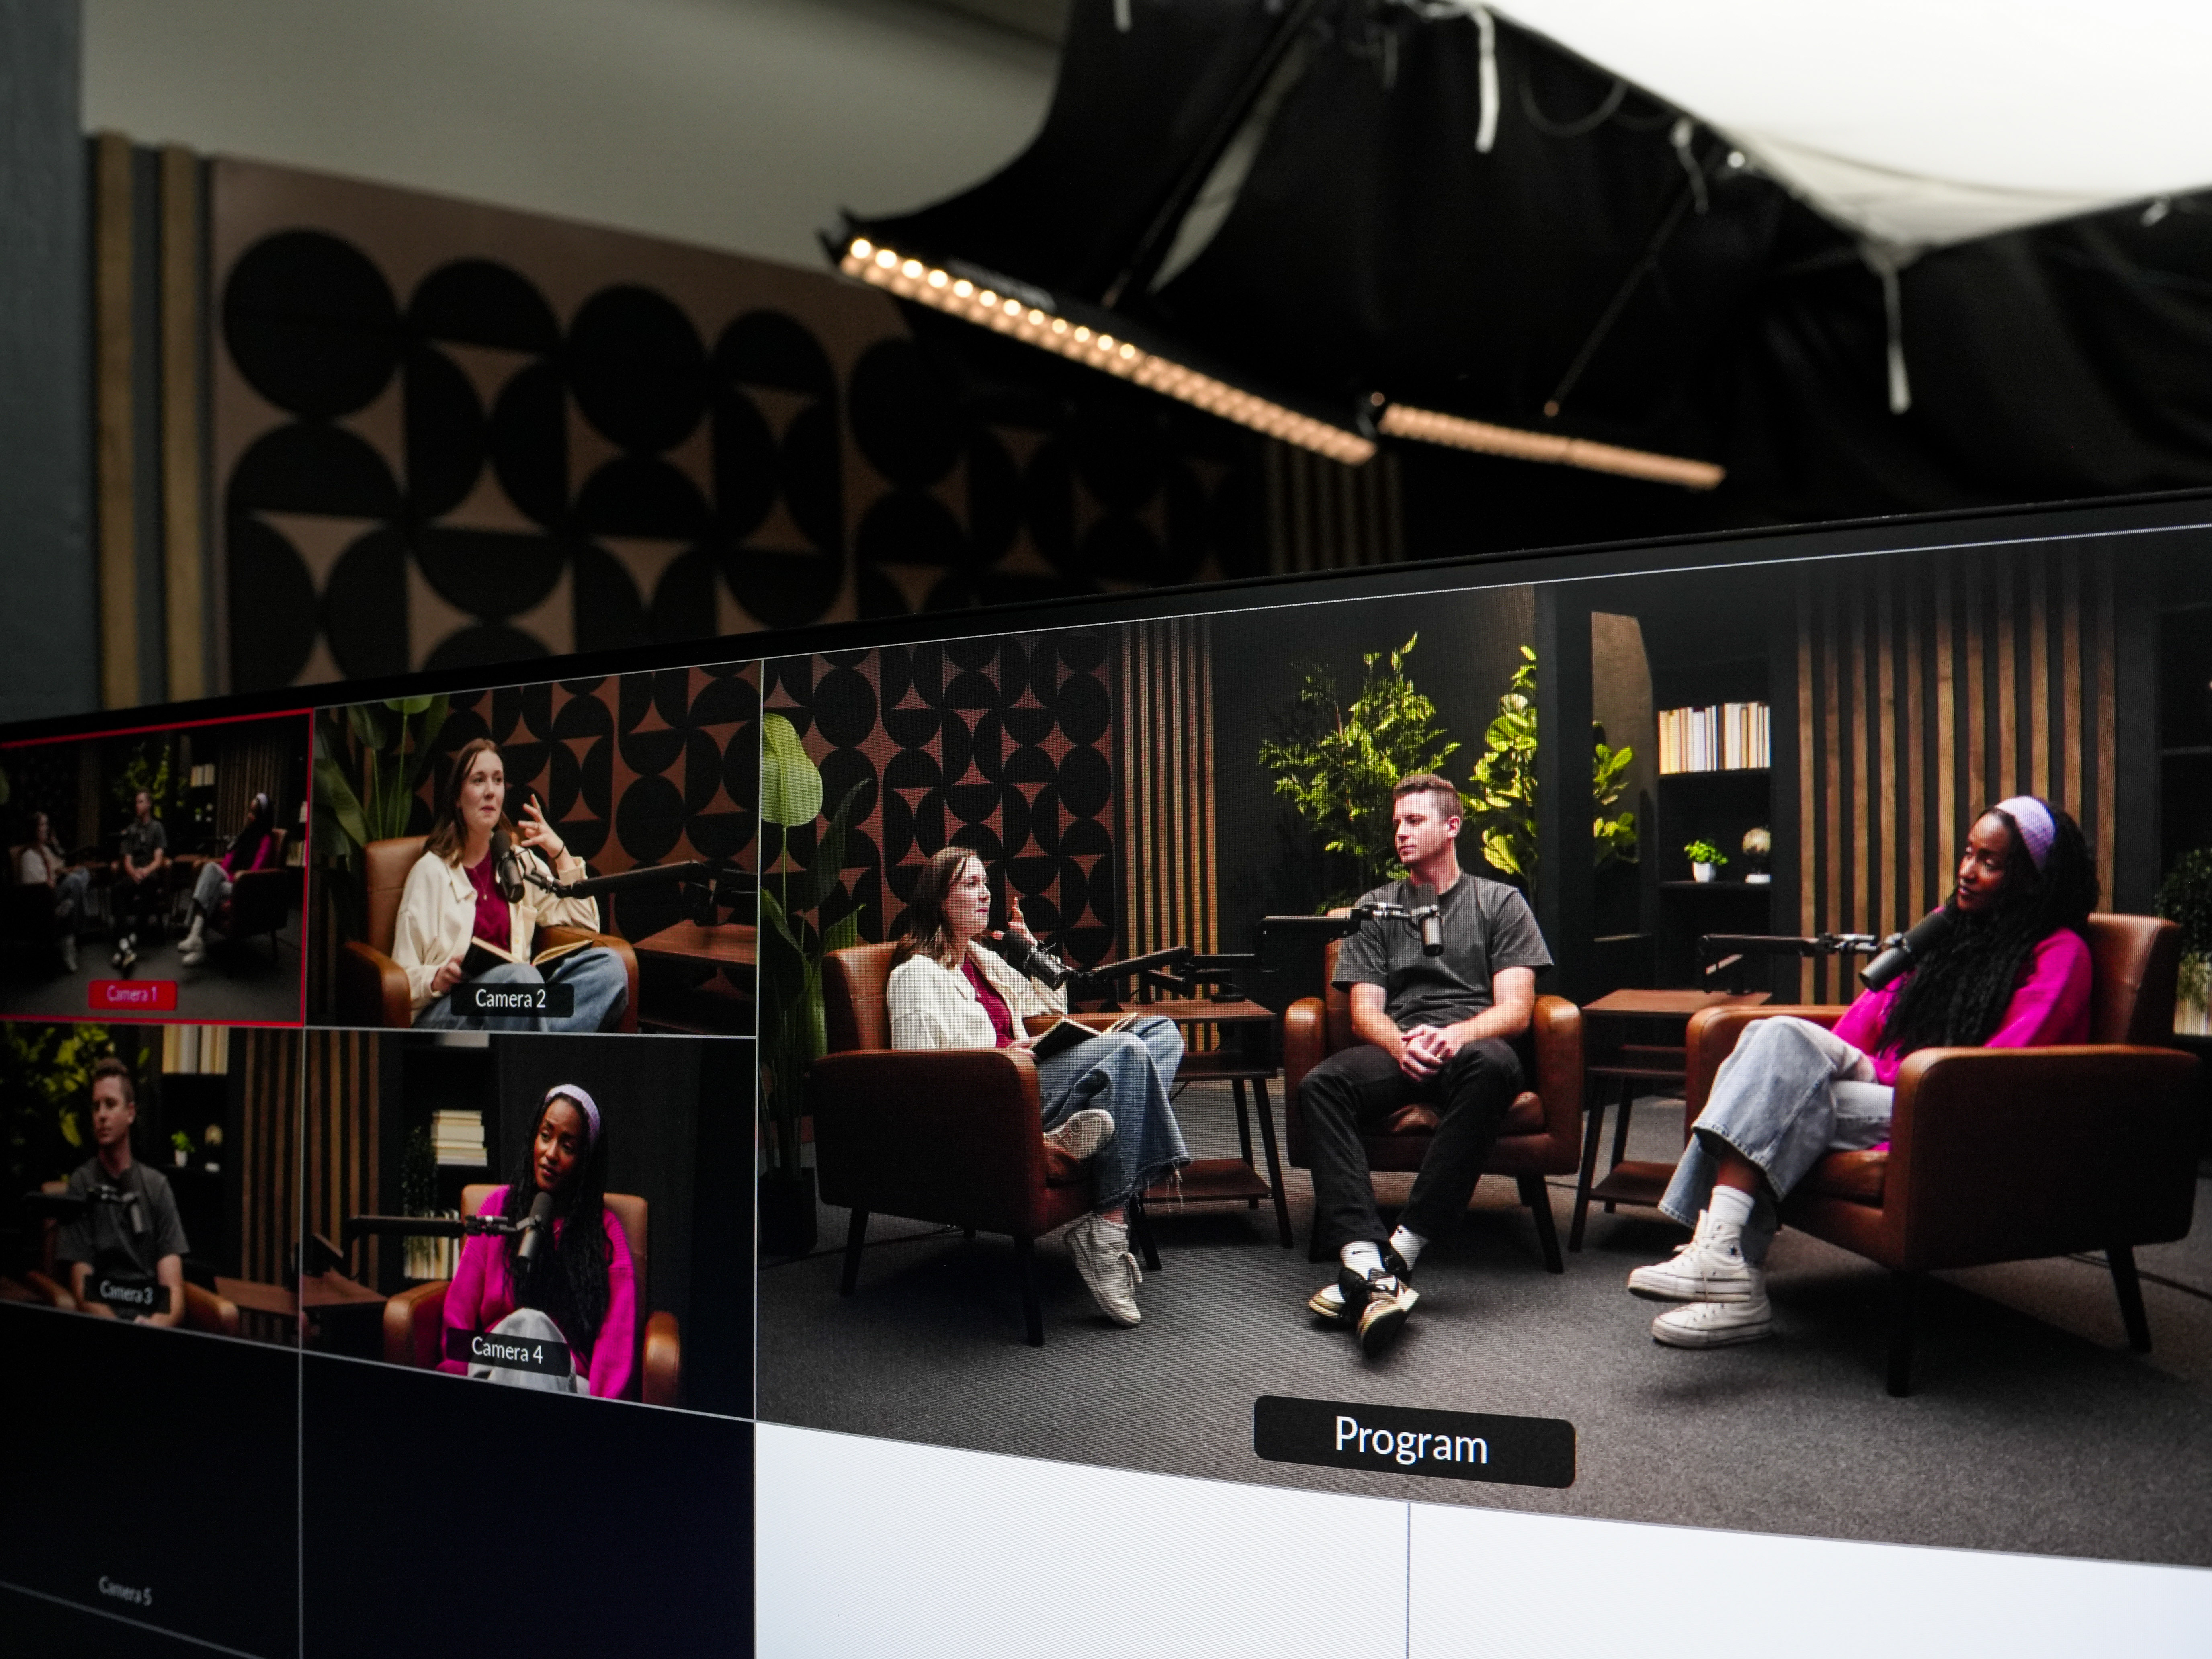
Beyond those three: your background should be clean and simple. It doesn't need to be a branded studio backdrop, but it should be uncluttered enough that learners don't get distracted. A professional studio environment handles all of this by default — which is one of the main reasons consultants, coaches, and subject-matter experts in Cincinnati and Northern Kentucky use a studio rather than building a home setup for a single course.
If you're recording webinar content in addition to course lessons, the production considerations are nearly identical — which means you can often record both in the same studio session with the same setup.
How to Record a Full Course Without Burning a Month
Here's the timeline most course creators don't expect: the writing and structuring phase takes the longest. The recording phase — when done in a professional studio with solid prep — can be surprisingly fast.
Many of the instructors who use our course creation studio complete a full course in one or two focused sessions. A typical pattern:
- 2-4 weeks pre-production: Finalize your course structure, write your scripts or talking points, build any supporting materials (slides, worksheets, checklists).
- 1-2 days in studio: Record all lessons in batches by module. Back-to-back recording with a consistent setup means no lighting resets between sessions.
- Post-production: Editing, captions, and platform upload happen after you leave. CPS handles the production side; you review the finished lessons before they go live.
The batch recording approach works because all your decisions — what to say, in what order, for how long — are already made. You walk in and execute. That's a fundamentally different energy than trying to figure out structure and delivery at the same time in front of a camera.
For B2B experts in the Cincinnati and Northern Kentucky area, this also means you don't have to buy or maintain any equipment. You use a professional space for the production window and walk out with broadcast-quality footage. The economics work in your favor — especially for a first course where you want to validate the content before investing in a permanent home studio setup.
Our content consulting team can help you map your course structure before production if you're still in the planning phase. We've seen the patterns that lead to clean recording days and the ones that don't — and the difference almost always comes down to preparation.
If you already have a podcast or are considering one, a course and a video podcast share more infrastructure than most people realize. Both live in the same studio setup and can share the same filming sessions when planned correctly.
Frequently Asked Questions
How long should each lesson in an online course be?
Aim for 5 to 15 minutes per lesson. Attention drops sharply past that window, and shorter lessons are easier to rewatch, reuse as samples, and repurpose as short-form clips for marketing.
Do I need a teleprompter to record a course?
Not necessarily. A teleprompter helps if you want to read a tight script naturally on camera. Many experienced instructors prefer bullet-point talking points instead — more conversational, fewer retakes. The best approach depends on how you deliver under mild pressure. Record a test segment both ways and watch it back.
Can I record a full course in one studio day?
Often, yes. With your modules scripted and your outline locked, a focused studio session can cover 10 to 20 lessons. The key is doing all your pre-production work before you walk in — structure first, record second. Studios that specialize in course video production are set up for efficient batch recording.
What's the difference between an online course and a webinar?
A webinar is a live or semi-live event — typically one session with audience interaction and real-time Q&A. An online course is an asynchronous product: recorded lessons learners consume at their own pace. Both can be produced efficiently in a professional studio environment, and many instructors produce both formats to serve different stages of their audience's journey.
Do I need a green screen for my course videos?
No. A clean, simple background in a professional studio typically looks better than a green screen overlay. Learners should focus on you and your content — the background just needs to be uncluttered and well-lit. A studio handles this automatically.
How do I make my course videos look professional without expensive equipment?
Rent a studio that already has the gear. Professional lighting, broadcast-quality audio, and proper camera framing are the main drivers of perceived quality — and a professional space provides all three without you buying or maintaining anything. Contact our team to ask what a course recording session looks like at CPS.
What to Do Next
If you've been sitting on a course idea because the production side felt like too much to figure out, this is the part where you stop waiting. The knowledge is there. The market for your expertise is there. The missing piece is usually just a clear structure and a production environment that makes recording efficient.
The Cincinnati Business Podcast has featured dozens of B2B experts, consultants, and founders across Greater Cincinnati — many of whom are exactly the kind of instructors who should be packaging their knowledge into scalable course content.
You can also explore our podcast idea research service if you're still deciding between a course, a podcast, or both — sometimes the right format isn't obvious until you stress-test the idea.
Ready to map out a course recording plan? Book a discovery call and we'll walk through what a production day looks like for your specific content type and audience.