
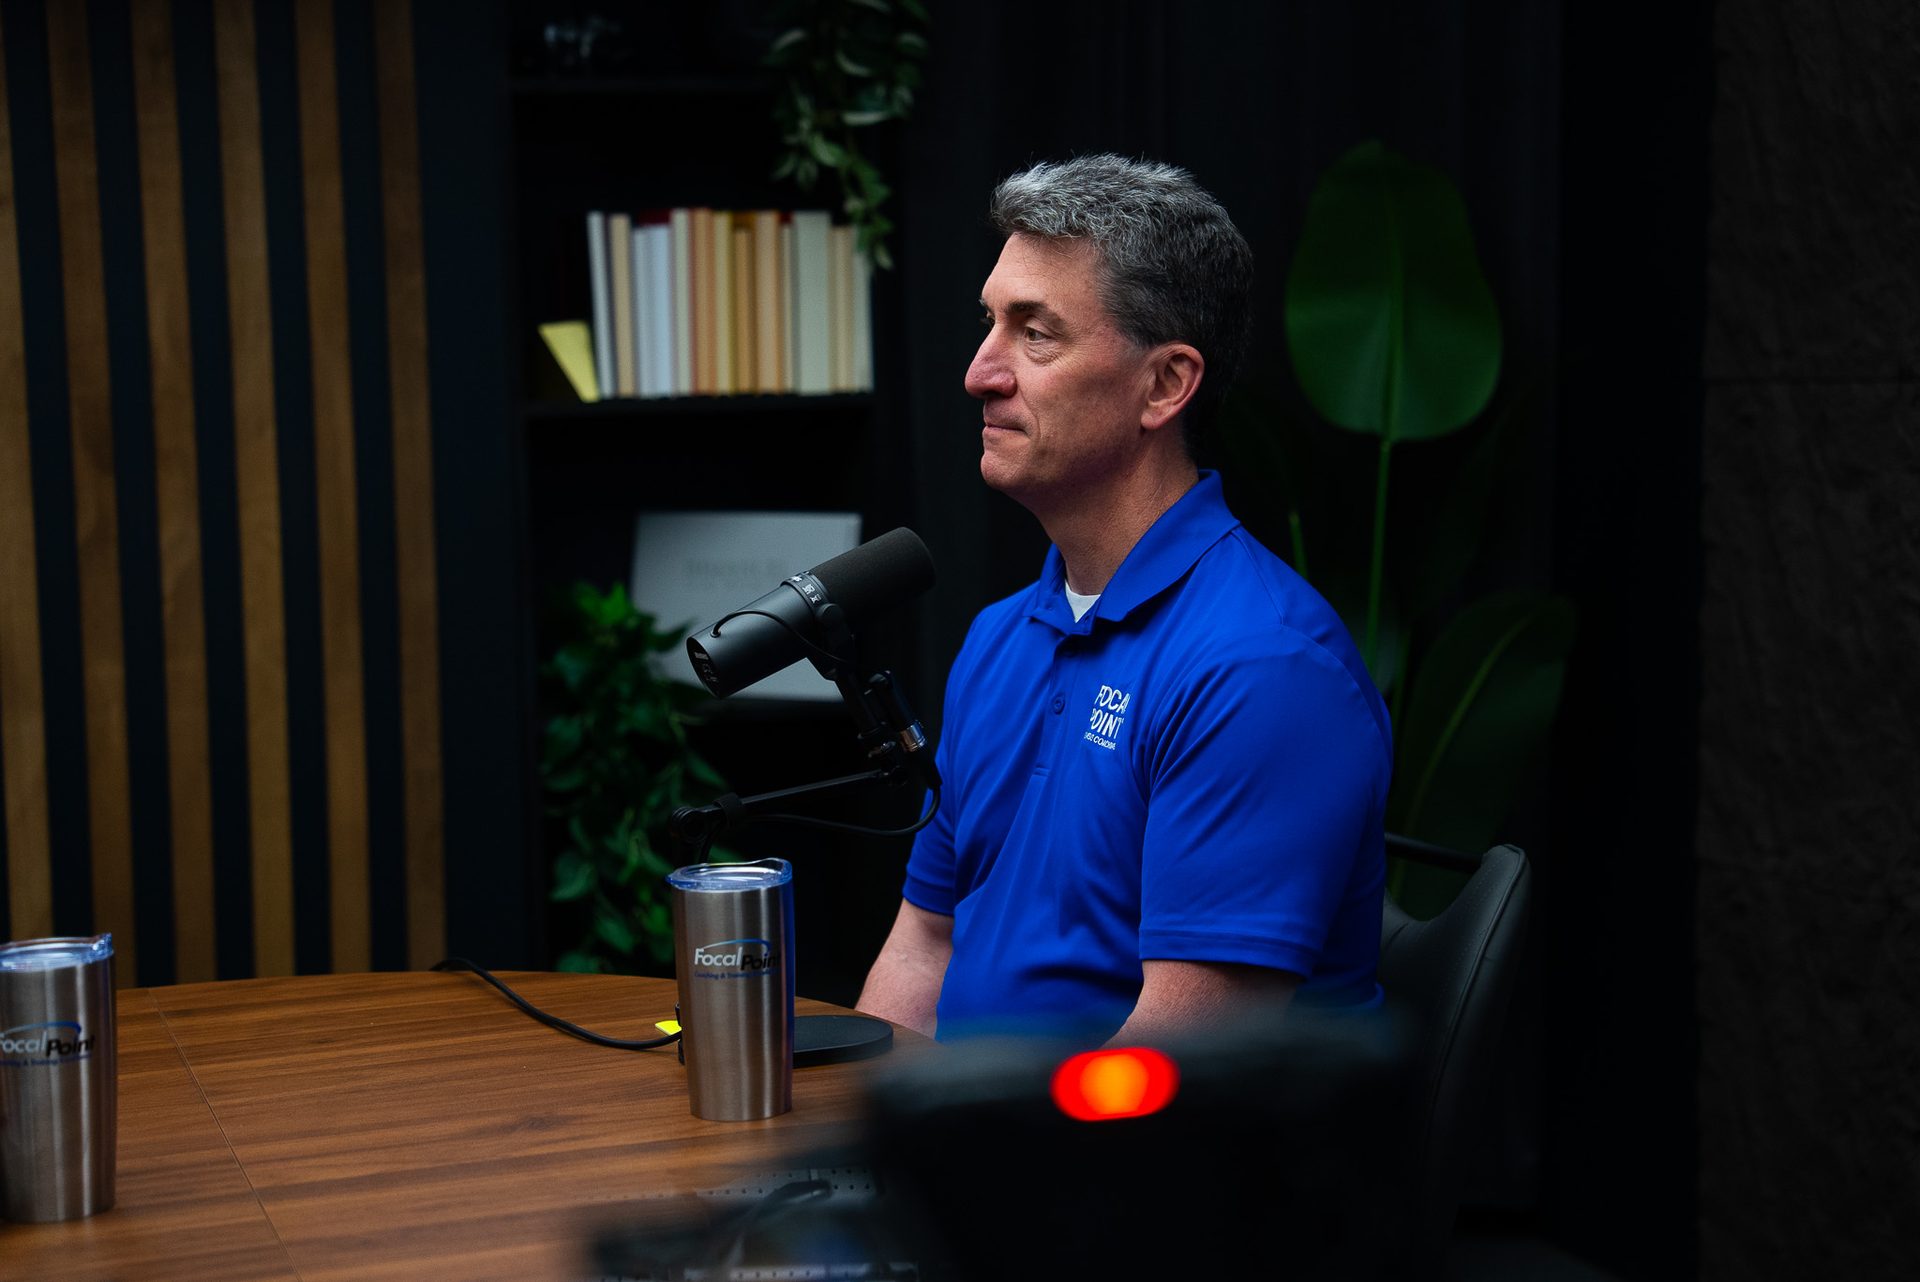
How to Make Course Videos Look Professional
How to Make Course Videos Look Professional
Most online course videos give the game away in the first 30 seconds. Bad lighting that washes out the speaker. Audio that sounds like a speakerphone in an empty conference room. A background full of visual clutter pulling attention away from the expert on screen. The content might be excellent—but production quality shapes how learners perceive the value of what they're buying before they've heard a single idea.
The gap between "recorded on a laptop" and "this looks like a real course" is smaller than most people assume. It comes down to a handful of controllable variables.
Course video quality directly affects completion rates and buyer confidence. Here's what separates professional-looking course content from amateur recordings—and how to close the gap without buying a studio's worth of gear.
Quick Answer: What Makes Course Videos Look Professional?
The three biggest factors are lighting, audio, and environment—in that order. A proper key light eliminates shadows and flatters the speaker. A dedicated microphone removes the echo and ambient noise that built-in mics capture. A clean, neutral, or branded background removes visual distractions. Nail all three and the result looks polished. Miss one and it degrades the whole video. Recording in a professionally equipped studio eliminates all three variables at once, without the setup time or equipment investment.
Why Course Video Quality Matters More Than You Think
Learners make a subconscious quality judgment in the first few seconds of a video. Poor production signals low investment—and that perception gets mapped onto the credibility of the content itself. It's not fair, but it's consistent. Research on e-learning engagement shows that audio quality is the single biggest driver of early drop-off: learners will tolerate average visuals, but they won't tolerate audio that makes them work to hear the instructor.
For coaches, consultants, and B2B subject-matter experts, a well-produced course is also a sales asset. Prospects who find your course—or your free preview content—are evaluating you before they ever reach a sales conversation. Professional video content builds that credibility quietly, before you've said a word about your credentials.
If you want to explore how a structured course creation production process can remove the guesswork, that's a practical starting point.
The Core Elements of Professional Course Video
1. Lighting: The Fastest Visual Upgrade
Lighting is the single highest-return investment in course video production. Even a basic LED ring light or softbox key light can eliminate the dark, shadowy look that makes built-in webcam footage feel flat. Place your light source at eye level, angled slightly toward your face, and you've solved 80% of the visual problem.
For a more polished setup, use a three-point lighting arrangement: key light, fill light, and a subtle backlight to separate you from the background. This is what gives interview-style and presenter-style course videos that broadcast-quality look. In a professionally equipped video studio, this is already built into the room—no setup required.
Common lighting mistakes:
- Backlighting from a window behind you (turns the speaker into a silhouette)
- Overhead fluorescent lighting (casts unflattering shadows under the eyes and chin)
- Mixing warm and cool light sources (creates inconsistent, distracting color casts)
2. Audio: The Variable That Actually Kills Courses
If learners can't hear you clearly, they stop watching. It doesn't matter how good the content is. Built-in laptop and webcam microphones pick up room echo, HVAC noise, keyboard clicks, and ambient sound that trained ears immediately flag as low-quality.
A USB condenser microphone placed 8–12 inches from your mouth makes a dramatic improvement. For courses that will be sold, licensed, or used as long-term marketing assets, an XLR microphone routed through an audio interface is worth the step up. Dynamic microphones are more forgiving in untreated rooms.
Acoustic treatment—foam panels, rugs, soft furniture, heavy curtains—reduces the echo that makes audio sound hollow. A professionally treated recording room solves this entirely. This is one of the clearest reasons organizations producing multiple courses choose to work with a production partner rather than build out a home recording setup: the room does most of the work for you.
3. Camera: Framing and Stability Over Resolution
Most modern smartphones and webcams record at sufficient resolution for course video. The real problems are framing and stability. Follow these practical rules:
- Eye-level camera: The lens should be at or slightly above your eye line. Looking down at a camera on a desk makes every speaker appear less authoritative on screen.
- Rule of thirds: Frame yourself slightly off-center, with headroom above and your eyes landing in the upper third of the frame.
- Stable mount: A tripod or monitor arm eliminates shake. Never hand-hold a course recording.
- Background separation: If your camera supports a shallow depth of field, a slightly blurred background keeps attention on the speaker. A clean backdrop achieves the same effect more reliably.
4. Background: Control the Visual Environment
Your background communicates before you do. A cluttered home office signals disorganized. A generic virtual background signals low effort. A clean, neutral wall or branded backdrop signals intentionality—and intention is exactly what course buyers are paying for.
Options in order of preference:
- A professionally designed studio set with intentional depth, lighting, and built-in branding
- A solid color or textured neutral wall—clean and uncluttered
- A styled bookshelf with relevant items (intentional, not random)
- A subtle virtual background, only if your camera and lighting support clean edge separation
If you're producing a course that will represent your business for two to three years, record in an environment that reflects that investment.
5. Delivery and Pacing
Technical production only carries you so far. The best-lit, best-sounding course video still fails if the instructor is reading from a script word-for-word, rushing through content, or losing energy by module three. A few practical notes that make a real difference:
- Speak slightly slower than you would in conversation. Learners need processing time that live audiences don't.
- Use teleprompter-style bullet points rather than full word-for-word scripts to maintain natural delivery rhythm.
- Plan for shorter lessons—8 to 12 minutes per section is the general sweet spot for retention.
- Record your best energy, not your longest takes. A focused two-hour recording session often produces cleaner output than three self-edited home recording attempts.
Professional Course Videos vs. DIY: What's the Real Tradeoff?
DIY course recording is viable for creators who have the time, interest, and budget to invest in equipment, acoustic treatment, and iterative learning. For subject-matter experts who want to focus on their content—not production variables—the tradeoff looks different.
A professional course creation studio provides calibrated lighting, acoustically treated audio, broadcast-quality cameras, and production support. The expert shows up with their content, records, and leaves with footage that requires minimal post-production. For busy consultants, coaches, and B2B teams, that model compresses the timeline from "I should record a course" to "the course is live" from months to weeks.
For Cincinnati and Northern Kentucky-based organizations, this is particularly worth considering: there's no reason to build a home studio when a purpose-built production environment is available locally. If you're a thought leader or consultant in Greater Cincinnati who's been putting off a course project, book a Discovery Call to walk through what a recording day actually looks like at CPS.
How to Plan a Course Recording Day
Most course creators underestimate how much content they can complete in a structured session. A focused recording day with solid preparation can capture 60–90 minutes of finished course video across multiple modules. Here's a practical framework:
- Outline first, always: Know what you're covering before you sit down in front of a camera. Even bullet-point outlines reduce takes and editing time dramatically.
- Batch by module: Record all content for one module before moving to the next. Context-switching mid-session adds cognitive friction and shows on camera.
- Plan for two takes per section: Most lessons need one warmup take and one clean take. Budget your time accordingly and don't try to perfect-take every section.
- Review on-camera before you leave: It's far easier to re-record a section during the session than to schedule a return day for a single fix.
The Cincinnati Podcast Studio podcast has covered course and content production workflows in practical depth—worth a listen if you're mapping out your first full course recording project.
Common Mistakes That Undermine Course Video Quality
- Recording in an untreated room: Echo is the fastest quality signal. If the room sounds hollow, the video sounds amateur regardless of camera or resolution.
- Inconsistent setup between modules: If lighting or framing shifts noticeably between sections, the course feels unpolished. Record everything in the same physical setup if possible.
- Ignoring wardrobe choices: Solid, medium-contrast colors work best on camera. Fine patterns—thin stripes, herringbone—create visual interference (moiré). Avoid pure white, which can blow out highlights on cameras with auto-exposure.
- Recording without a content outline: Going into a recording session with a vague idea of what you'll say leads to rambling takes that eat time and require heavy editing later.
- Skipping the test clip: Record a 60-second sample clip, review it on headphones, and check framing before committing to a full recording session. Catching a setup issue early saves the entire day.
What About Screenshare and Hybrid Course Content?
Many courses blend talking-head video with screenshare or slide-based content. For the screenshare segments, audio quality remains the non-negotiable priority—it carries the same weight whether you're on camera or not. For hybrid formats where you appear alongside slides or screen content, consistent framing and a branded overlay design tie the course together visually and signal professional production throughout.
If your course includes live elements—Q&A sessions, virtual workshops, or client-facing webinar replays that feed into course content—webinar production and course creation workflows overlap more than most people expect. CPS handles both, often for the same client in the same production cycle.
Frequently Asked Questions
Do I need expensive equipment to make professional course videos?
Not necessarily. A dedicated microphone (USB condenser or XLR), proper lighting, and a clean background address the most visible quality problems for under $300 in gear. The bigger cost is usually time—setup, testing, acoustic treatment, and retakes. Recording in a professionally equipped studio eliminates the equipment cost and the setup overhead entirely.
How long should course videos be?
Most instructional designers target 8–12 minutes per lesson. Shorter lessons (4–6 minutes) work for quick-reference or skill-focused content. In-depth concept explanations can stretch to 15–20 minutes if the pacing is strong. Avoid segments over 20 minutes unless the content genuinely requires it—completion rates drop sharply past that threshold.
Should I record a course at home or in a studio?
It depends on your timeline, budget, and how long the course will be in market. Home recording works if you have proper acoustics, dedicated lighting, and time to iterate on setup. A professional studio is the straightforward choice when you're producing content that will represent your brand for multiple years, when you don't want to own and maintain equipment, or when your recording environment can't be reliably controlled.
How do I make my voice sound better on camera?
Microphone placement matters most—closer to the source is almost always better, typically 8–12 inches from your mouth. Acoustic treatment (rugs, curtains, foam panels) reduces echo. Slow your delivery slightly and drink room-temperature water to maintain vocal clarity across longer recording sessions.
Can I record an entire course in one day?
Yes, with preparation. Most subject-matter experts complete 60–90 minutes of finished course video in a focused half-day to full-day recording session. Having a tight outline or teleprompter bullet points for each module, and batching content by section, makes this achievable without quality drop-off or burnout.
Ready to Record Your Course the Right Way?
Course video quality is a solvable problem. With the right environment, the right setup, and a clear content plan, you can record professional-looking course content that reflects the expertise you've spent years developing. You don't need to learn video production to do it well—you need to record in the right space with the right support.
Cincinnati Podcast Studio is a purpose-built production environment for exactly this: coaches, consultants, and B2B teams who want to turn their expertise into high-quality course content without the DIY overhead. Book a Discovery Call to walk through your project, your content outline, and what a course recording day looks like at CPS. If you have questions about scope or fit first, reach out directly—we'll give you a plain-language answer.
You can also explore the Cincinnati Business Podcast—a real-world example of what consistent, professional video and audio production looks like when it runs as a repeatable system.