
What Equipment Do You Need to Record a Webinar?
What Equipment Do You Need to Record a Professional Webinar?
Most people underestimate the equipment gap between "recordable" and "professional." A laptop and Zoom can get the session captured. But if you're producing content that's supposed to generate leads, build authority, or represent your brand at a high level, the equipment you use determines how seriously people take what you're saying.
This is the full equipment breakdown — what you need, what matters most, and when a professional studio becomes the smarter call.
Quick Answer
To record a professional webinar you need: a camera capable of 1080p or 4K output, a dedicated microphone (USB condenser or XLR with interface), studio lighting (softbox or ring), a reliable internet connection, and screen-capture software or a recording platform. The weakest link is almost always audio — poor audio quality tanks credibility faster than anything else. A professional studio removes every one of these variables at once.
The Core Equipment List for Recording a Professional Webinar
Here's the full list before we break each one down:
- Camera: 1080p minimum, 4K preferred for content repurposing
- Microphone: USB condenser or XLR mic with audio interface — never your laptop's built-in
- Lighting: Softbox or ring light positioned in front of you
- Internet connection: Wired ethernet, minimum 10 Mbps upload
- Recording platform: Zoom, Riverside, Restream, or OBS Studio
- Optional but valuable: Teleprompter, backup local recording, secondary camera angle
If you're running a multi-speaker panel, each participant needs their own mic and lighting setup. That's where DIY setups start to fall apart — and where webinar production services become worth the investment.
Camera: What Actually Matters for Video Quality
Your camera determines how your audience perceives your credibility before you say a word. A blurry, pixelated, or poorly framed shot signals that the content itself may not be worth their attention — whether or not that's true.
Resolution: 1080p is the floor. If you're planning to repurpose your webinar into short-form clips, speaker reels, or short-form video content, record at 4K. Downscaling from 4K to 1080p gives you clean, sharp footage. Upscaling from 1080p to 4K looks compressed and soft.
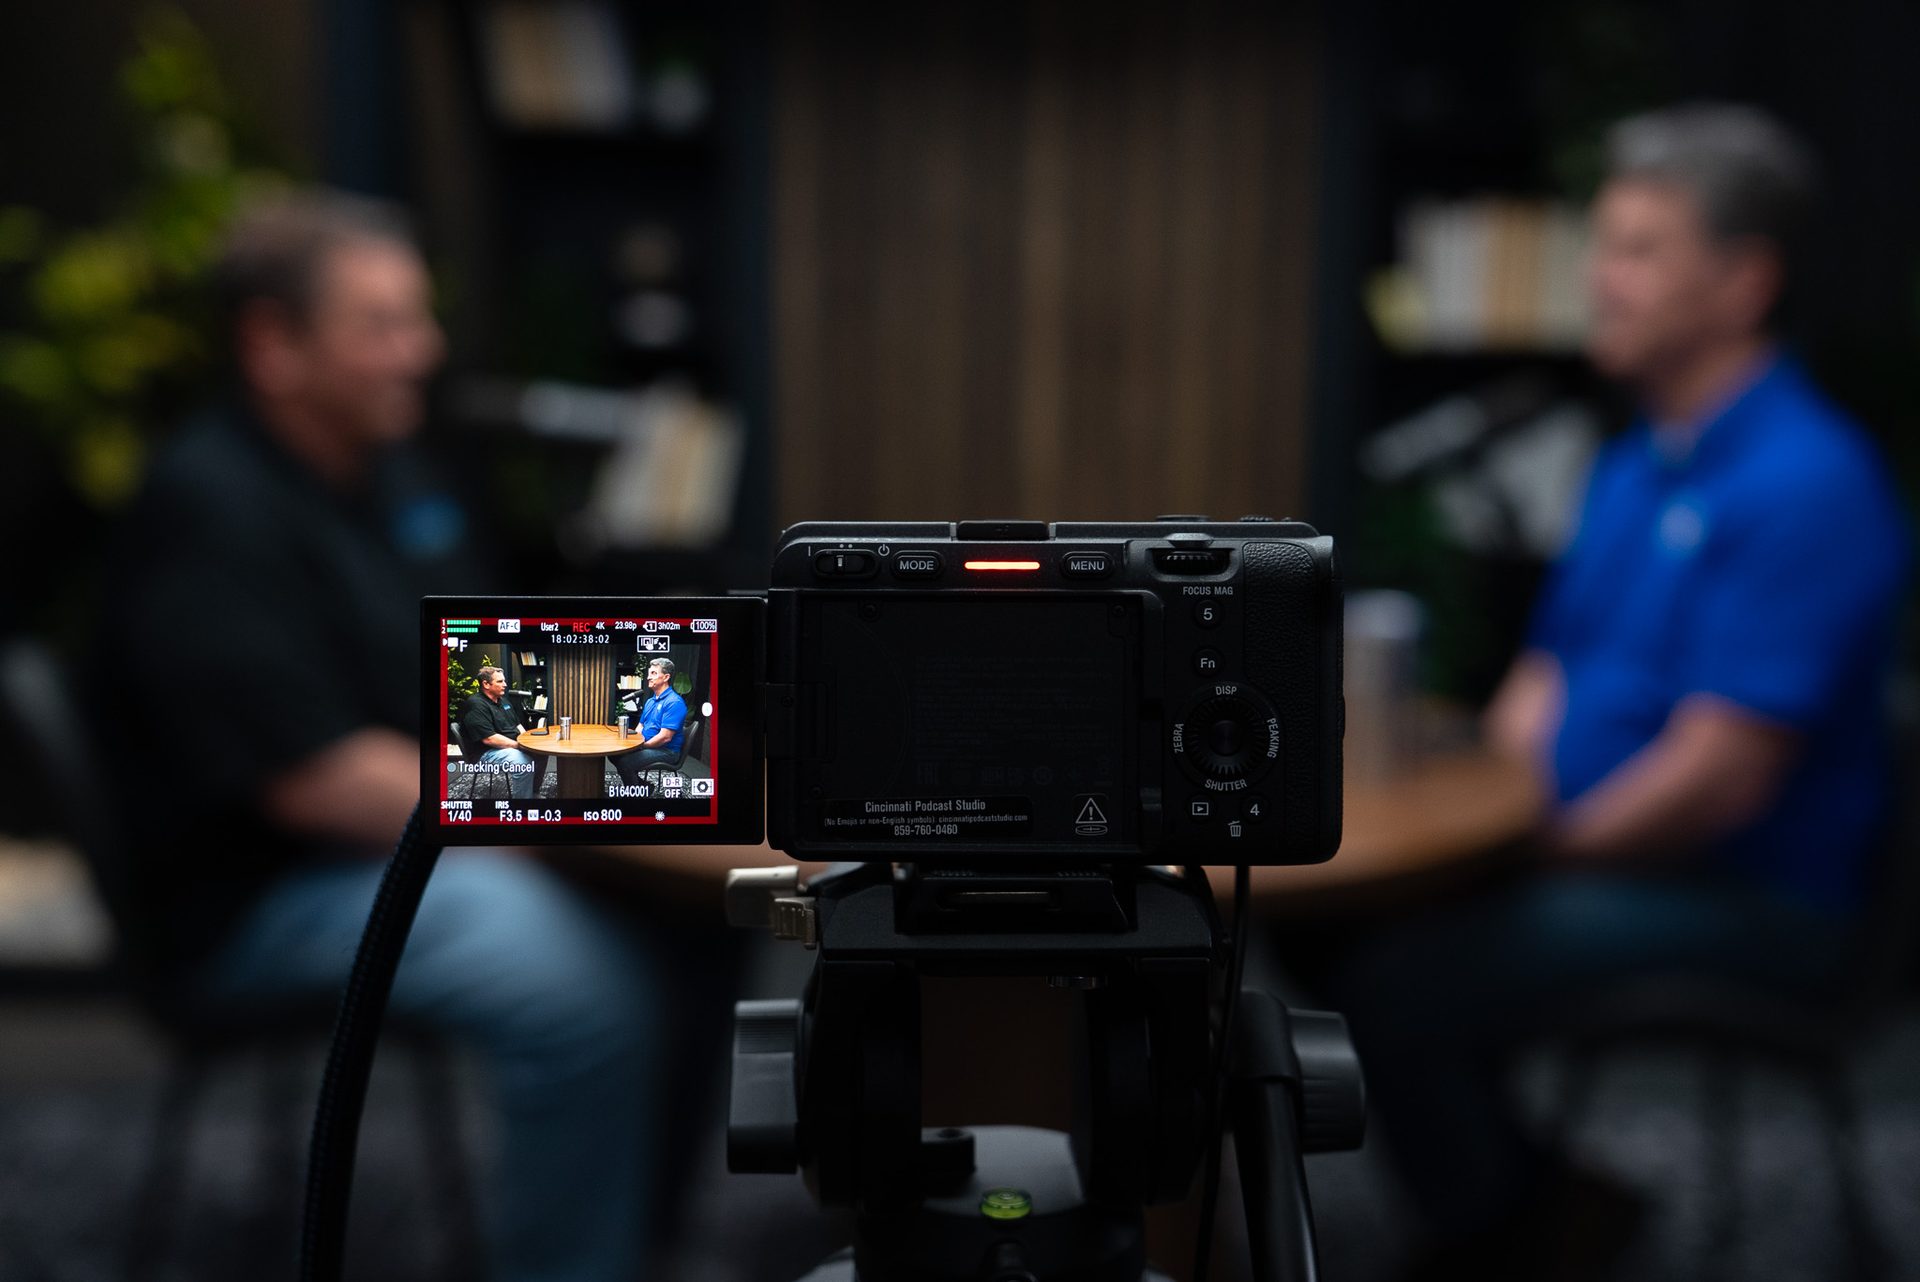
Webcam vs. DSLR or mirrorless: Consumer webcams have improved, but they still can't match the depth of field, low-light performance, or sensor quality of a dedicated camera. A DSLR or mirrorless camera — even an older model — paired with a clean HDMI signal to a capture card delivers a noticeably more professional image.
Framing: Position your camera at eye level or slightly above. Looking up at a lens placed on a monitor creates an unflattering angle. Looking directly into the lens — at the right distance — signals presence and authority. Frame yourself with headroom above and the bottom of the frame at mid-chest.
Depth of field: A slightly blurred background keeps the focus on you. This is where cameras with larger sensors outperform webcams. If you're using a webcam, put some physical distance between yourself and your background to create at least the impression of separation.
Audio: The Make-or-Break Factor
Audio is where most DIY webinar setups lose people. Viewers will tolerate imperfect video for a while — but bad audio triggers immediate disengagement. Research consistently shows that audio quality affects perceived speaker credibility more than video quality does.
Laptop microphone: not an option. Built-in microphones pick up keyboard noise, HVAC hum, room echo, and every ambient sound in the space. They were designed for video calls, not professional recording. Use one, and your credibility takes the hit.
USB condenser mics: The easiest upgrade. Plug in, position it 6-12 inches from your mouth (slightly off-axis to reduce plosives), and you immediately sound better. The Blue Yeti, Rode NT-USB Mini, and Audio-Technica AT2020USB+ are reliable entry points used by professionals who work from home.
XLR microphones with an audio interface: The next tier. An XLR mic — like a Shure SM7B, Rode PodMic, or Electro-Voice RE20 — connected to an interface like the Focusrite Scarlett gives you independent gain control, phantom power for condenser mics, and a much cleaner signal path. This is broadcast quality, not content-creator quality. The difference is audible.
Room acoustics matter as much as your mic. A great mic in a reflective, echo-heavy room still sounds bad. Hard floors, bare walls, and open ceilings create problems no microphone can fix on its own. Acoustic panels, heavy curtains, or even a closet full of clothes help absorb sound. Recording in a professionally treated studio eliminates this problem entirely — which is one of the core reasons companies use professional webinar recording services.
Multi-speaker panels: Each speaker needs their own dedicated mic. Shared microphones on a conference room table pick up room echo, table noise, and distant voices unevenly. For a panel of three or four speakers, you need three or four independent signal paths — which is a significant setup challenge without a production team managing it.
Lighting: The Easiest Win Most People Skip
Lighting is the highest-impact, lowest-cost upgrade most people overlook. The wrong lighting makes you look like you're being interrogated. The right lighting makes you look polished, prepared, and on-camera comfortable — before you say a word.
The basic rule: light should come from in front of you, not above or behind. A window behind you turns you into a silhouette. Overhead lighting creates harsh shadows under your eyes and nose. A light positioned at your eye level and slightly to one side — your key light — is the starting point.
Ring lights vs. softboxes: Ring lights are popular because they're cheap and portable. They work. But they create a circular catchlight in your eyes and a flat, slightly harsh quality. A softbox — a rectangular light source with a diffusion panel — produces softer, more directional light that reads as more cinematic and less YouTube-DIY. For professional presentations, a two-light softbox setup (key light on one side, fill light on the other) is the standard.
Color temperature: Match your light source to daylight (5500K) or buy bulbs labeled "daylight" or "cool white." Mixing warm and cool light sources creates an uneven, unflattering color cast that post-processing can't easily fix. Consistent color temperature is one of the subtle markers that separates professional video from amateur video.
Background: Keep it clean and intentional. A plain wall, branded backdrop, or shallow-depth background works. Cluttered backgrounds, busy bookshelves, or visible doors and windows pull attention away from you and create distractions that lower perceived professionalism.
Recording Platform, Capture Software, and Connectivity
The platform you use to record matters less than most people think — and more than they expect when it fails at the wrong moment.
Webinar platforms: Zoom, Microsoft Teams, and Google Meet all offer built-in recording. For quick internal sessions or small-audience presentations, this is fine. For anything you plan to repurpose into clips, post publicly, or use as a lead-gen asset, the compressed recording quality is a limitation. Dedicated recording tools give you better output.
Dedicated recording tools: Riverside.fm records each participant locally at full quality, then syncs the tracks in post — so dropped connection on your end doesn't ruin the recording. Restream handles live streaming and recording simultaneously. OBS Studio is free, powerful, and the choice of most serious producers, but has a steeper learning curve. Ecamm Live is the Mac-only alternative that's significantly easier to set up.
Screen capture: If your webinar includes a slide presentation or screen demo, you need screen capture software running separately from your webinar platform. OBS handles this natively. Loom captures screen + webcam. For high-stakes presentations, record your screen locally as a backup even when the webinar platform is also recording — webinar recordings can fail, corrupt, or be lost when a session crashes.
Connectivity: Wired ethernet is not optional for professional webinar recording. Wi-Fi drops happen. A dropped connection mid-presentation loses the audience and potentially loses the recording. Plug in. If you're in a location where that's not possible, have a mobile hotspot as a backup and test your connection speed before the session. You need at least 10 Mbps upload for 1080p streaming with headroom to spare.
A backup recording: Run a second device recording the session locally whenever the stakes are high. If your primary recording fails, a phone recording the screen as a fallback is better than losing the session entirely. For important webinars — product launches, paid events, course creation sessions — this is not paranoia. It's standard operating procedure.
When DIY Equipment Isn't Enough (And What to Do Instead)
A well-assembled home setup can produce solid, professional webinar recordings for the right use cases. But there are situations where assembling that setup yourself introduces more variables than the session can absorb.
Multi-speaker panels: Getting three or four people on camera simultaneously — each with their own mic, lighting, and clean framing — is a significant production challenge. At home, each participant manages their own setup with inconsistent results. In a professional studio rental, every seat has a dedicated mic, consistent lighting, and a camera angle already handled. The production team manages the live session so the speakers can focus on the conversation.
High-stakes content: If the webinar is a paid event, a corporate training program, a product launch, or anything that represents your brand at a meaningful level — the quality of the production is part of the message. Viewers make judgments. Credibility is on the table. The cost of a professional recording session is small compared to the cost of a poor-quality recording that undermines the content it's trying to deliver.
Content repurposing: If you plan to turn your webinar into short-form clips, blog posts, a course module, or a social media video series, the quality of the source recording determines the quality of everything that comes from it. 4K footage recorded in a professionally lit studio gives your editing team material to work with. Compressed Zoom recordings recorded in inconsistent home setups don't.
No production team available: Running a live webinar while managing your own audio, lighting, slide deck, and Q&A simultaneously is genuinely hard. Professional webinar production services put a dedicated production team behind the session — someone managing cameras, audio levels, and the technical side while you focus on delivering the presentation. That's a different kind of output.
If you're a B2B team in Cincinnati or Greater Cincinnati — running training webinars, thought leadership panels, or client-facing presentations — this is exactly the gap CPS fills. One session at the studio, and your team walks away with broadcast-quality footage they can use across every channel.
Common Mistakes When Setting Up DIY Webinar Equipment
- Using your laptop's built-in microphone. It will always be the weakest link in your setup. A $60 USB mic is a significant upgrade.
- Backlighting from a window. Close the blinds or move your desk. Light should come from in front of you.
- Forgetting to test before the session. Run a full equipment check — audio, video, screen share, recording — at least 30 minutes before the session starts. Technical problems discovered live are problems that cannot be fixed live.
- No backup recording. Webinar recordings fail. Always have a redundant capture running.
- One mic for multiple speakers. This is the fastest way to produce an unusable recording. Each speaker needs their own signal.
- Ignoring the room. Bare walls, hard floors, and open ceilings create echo and reverb that no microphone can fix. Treat the room or choose a treated space.
Frequently Asked Questions
What is the minimum equipment needed to record a webinar professionally?
At minimum: a 1080p camera (not a webcam if you can help it), a dedicated USB microphone, a softbox light in front of you, and a stable wired internet connection. That combination removes the most visible quality problems.
Is a ring light good enough for webinar recording?
A ring light is better than nothing, but a softbox gives more natural, even light. Ring lights can create a circular reflection in glasses and tend to be too harsh. A two-light softbox setup — key light on one side, fill light on the other — produces a more professional result.
Do I need a professional studio to record a webinar?
Not always. For internal meetings or small-audience webinars, a solid DIY setup works. But for high-stakes events — paid workshops, product launches, panel recordings you plan to repurpose — a professional studio eliminates the variables that DIY setups struggle with: consistent lighting, broadcast-grade audio, and a production team managing the session live.
What microphone should I use for a webinar?
For solo webinars, a USB condenser mic like the Blue Yeti or Rode NT-USB is a solid entry point. For multi-speaker panels, XLR mics with a dedicated audio interface give each speaker independent gain control, which is essential for a clean recording.
How do I record a webinar with multiple speakers professionally?
Each speaker needs their own microphone, their own lighting setup, and a stable connection. If everyone is in the same room, a professional studio handles this with dedicated broadcast-grade mics at each seat, camera coverage per person, and a live production team managing the session. Remote multi-speaker setups work with tools like Riverside or SquadCast, which record each participant's audio locally.
Can I record a webinar on my laptop?
You can, but your laptop's built-in microphone and webcam will limit the quality significantly. At minimum, plug in an external USB mic and an HD webcam before recording anything you plan to share publicly or use as lead-gen content.
What CPS Does Differently
Cincinnati Podcast Studio is a professional video production studio built for business content — webinars, panels, podcasts, course recordings, and short-form clips. Every session includes 4K multi-camera coverage, dedicated broadcast-grade audio at each seat, professional lighting, and an on-site production team that manages the technical side of the session while your team focuses on the conversation.
One session produces the webinar recording plus the source material for short clips, a transcript, and potential course modules — all from a single studio day. If you're producing content that's supposed to move your business forward, the equipment and the team need to match that standard.
We work with B2B companies, consultants, associations, and professional services teams across Cincinnati, Northern Kentucky, and the Greater Cincinnati region. Learn more about our webinar production services, or book a Discovery Call to talk through what one session could produce for your team.
You can also explore how consulting and content strategy fits alongside production, or see what other Cincinnati businesses are doing with their content through the Cincinnati Business Podcast.
External resource: PLOS ONE research on audio quality and speaker credibility — audio quality affects perceived competence and trustworthiness of the speaker, independent of the content itself.